Comprehend Pro Users & Groups
This tutorial will walk you through how to set up your groups and users in Comprehend Pro.
Teacher Goals
-
Once a Comprehend Pro administrator has worked through this tutorial, they will be able to create groups and users within Comprehend Pro.
Required Resources
-
This tutorial is for use by Comprehend Pro administrators. To be able to go through this tutorial successfully, it is necessary for you to have the administrator's username and password to have access to the necessary privileges.
Steps
-
ALCA Home Community
If you are viewing this tutorial online, open another browser window and go to the following url: http://www.alcaweb.org IMPORTANT: Notice that on the ALCA's home page there is an indication that you can log on. This is NOT the log on option for Comprehend Pro. Pro requires another log on screen which is located in your specific PD Rooms which we now call your Professional Learning Community (PLC) Room. Why we call it your PLC Room will become more apparent in future discussions. It will open at ALCA's Home Community. Note: It may be more convenient for you to print this tutorial and work through it with a printed copy. -
Click K-12 Education
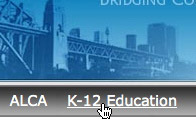 On the ALCA's home page click the K-12 Education at the top of the page.
-
Select Your PLC
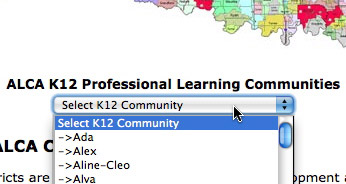 Under the map, click the popup menu Select K12 Community. Then select your particular Professional Learning Community (PLC).
-
Comprehend Login
 Your district's PLC Room should be displayed at this point.
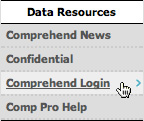
In the bin area to the left of the page under the "Data Resources" section, click the Comprehend Login link. -
Logging In
 Click the Comprehend Pro Login button. Another browser window will appear containing Comprehend Pro.
NOTE: It is necessary to have the latest Flash Player installed. This page provides you a link to the Flash download page.
Click the Comprehend Pro Login button. Another browser window will appear containing Comprehend Pro.
NOTE: It is necessary to have the latest Flash Player installed. This page provides you a link to the Flash download page.
-
Enter Username and Password
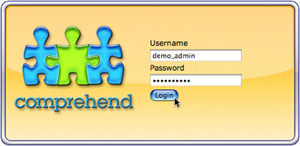 Enter your username and password provided to you by your administration or ALCA. Then, click the Login button.
-
Confidentiality Acceptance
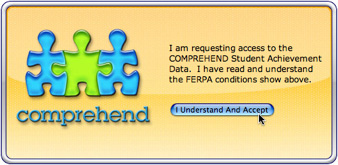 Review the content on this page. If you agree, then click the I Understand And Accept button.
-
Users & Groups
 To edit your users or groups, click the "Users & Groups" link at the top right of the web page.
-
Add Group
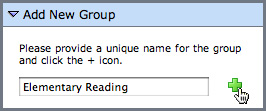 In the Add New Group window, enter the title for a new group. Then, click the green Plus icon to add it.
The Group form will appear to the right.
Note: Groups allow you assign different access rights to district staff. -
Group Form
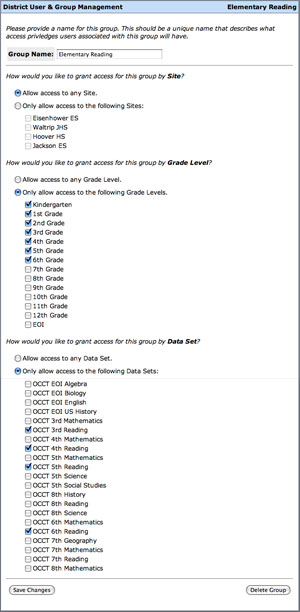 To create or edit a group several options are available. These options include:
- Group Name - Allows you to add or modify the name to a group.
- Sites - This option provides access to data for all the tested sites OR allows access to a select group of tested sites. In this example this group has data access to all tested school sites.
- Grade Level - This option allows access to data for all grade levels OR access to data for selected grade levels. In this specific example, this group has access to grade level data Kindergarten through the 6th grade.
- Data Sets - This option provides access to all data sets OR access to a select group of data sets. In this specific example, this group has access to the Oklahoma Core Curriculum Tests (OCCT) for 3rd through 6th grade reading.
- Save Changes - Click the Save Changes button when you have made the desired modifications to the group.
- Delete Group - Click the Delete Group button to delete the group.
NOTE: Currently you can only add a user to one group. This needs to be considered when planning how you want your groups. - Group Name - Allows you to add or modify the name to a group.
-
New User
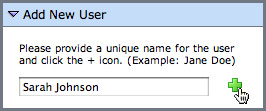 After you have created your groups, you can now begin adding your users. To do this, enter a user's name in the Add New User box. Then, click the Plus icon to add them.
The User form will appear to allow you to set the user's settings. -
User Form
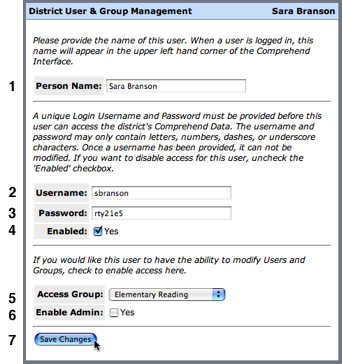 Several user options are available which control the user's access to the Comprehend Pro data. These options include:
- Person Name - Enter or edit the name for the user.
- Username - Enter the username for this user. Once saved for the first time, the username can not be changed.
- Password - Enter a password which the user will remember but no one else will be able to guess. Your district may already have a policy on passwords which should be followed here as well.
- Enabled - The Enabled option checked allows this user to log into Comprehend. Deselecting this option is useful for an educator who no longer is employed by your district.
- Access Group - Select the pulldown menu. Then click the group in which this user should be a member.
- Enable Admin - Check this check box if this user is a district administrator of Comprehend Pro. It allows them access to the Groups & Users section of Comprehend.
- Save Changes - Once the options are set or modified as desired click the Save Changes button.
-
Existing Users & Groups
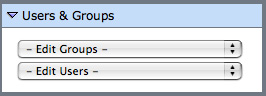 To edit an existing group or user, click the appropriate pulldown menu. Then, select the desired group or user.