What's in Your Square? Copy
Students will map an area in the field, record the information, and then identify rocks and minerals, vegetation, wildlife, and the soil type within the area.
Engaging Questions
-
Why is the surface of the area the way it is? How has erosion aided in the process?
-
What geologic processes made the area?
-
What vegetation and organisms are present? What type of environment is needed to sustain those organisms and the vegetation?
-
How has man affected the area? Is pollution or damage evident?
Teacher Goals
-
Students will map an area using metric measurements.
-
Students will identify quadrants and record information.
-
Students will record the wildlife, vegetation, rocks and minerals, and the soil type within the area.
-
Students will use field guides to identify the rocks and minerals, wildlife, and vegetation.
Required Resources
-
- meter stick, tape measure, or metric ruler
- wooden stakes or popsicle sticks
- string or yarn
- scissors
- camera
- lab manual or paper to record information
- field guides for minerals, wildlife, vegetation
- rock testing kit (for identification)
- hammer
- small container for soil sample.
-
The resources listed below are needed to complete the activity What's in My Square?
Steps
-
Identifying area on map.
The day before the trip, students should identify the general area on a map. Discuss the general geology, soil types, life forms, and vegetation found in the area.
-
Making the quadrangle.
Cut 6 pieces of string or yarn 1 meter long. Using four of the pieces of string and 4 stakes, construct a square. Tie the four strings to the stakes at the corners making sure to secure them tightly. The fifth and sixth pieces of string will be used to divide the large square into 4 smaller squares of equal size. Measure equal distances between the stakes and make a mark on the string. This should be done on all sides. Then tie the last two pieces of string to the sides of the squares. The finished product should look like a window pane.
-
Picking an area in the field.
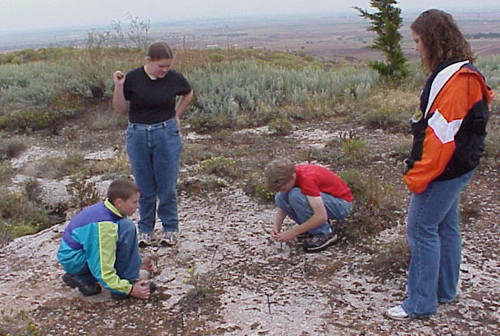
Students should pick an area in the field that has a variety of materials.
-
Staking the quadrangle.
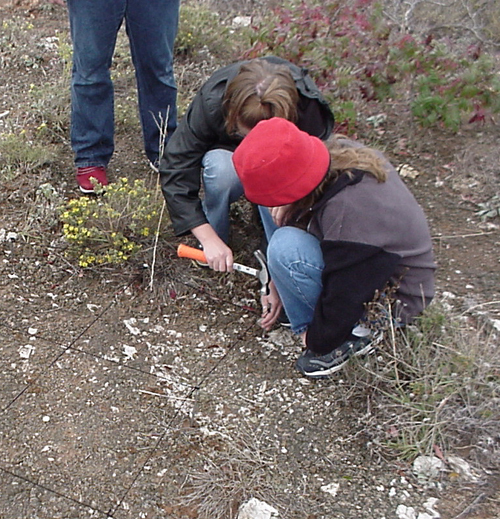
Once the area has been decided upon, students should stake the assembled quadrangle to the ground. Use a large rock or a hammer to drive the stakes into the ground approximately 5 centimeters.
-
Recording the quadrangle.
In your lab manual, draw a square to resemble your quadrangle. The drawing should be neat and accurate. Label the quadrants 1-4 starting in the upper left corner and moving clockwise. Drawings of the items in the quadrangle should be placed on the paper. This will be your reference when presenting in the classroom.
-
Recording the information.
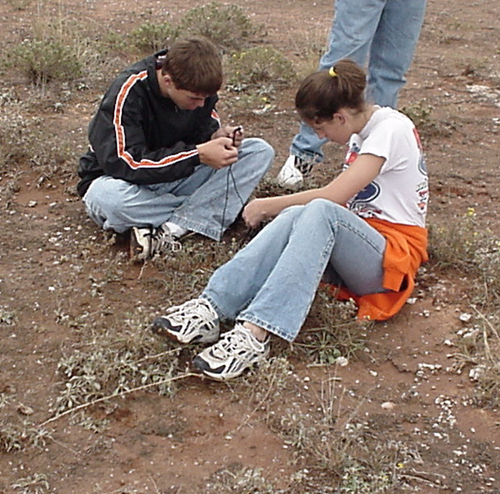
Using the camera, take a picture of the entire area first. Then take a picture of each quadrant beginning with 1 and ending with 4.
-
Identifying rocks and minerals in quadrants.
Using the rock kit, take a sample of each type of rock or mineral in the quadrants and test it. This information should be recorded. Make sure to include color, hardness, streak, and cleavage. NOTE: Please do not remove rocks or minerals from the area unless told to do so by your instructor.
-
Identifying soil type.
In a small container, obtain a sample of soil to be taken back to the classroom for identification.
-
Identification of vegetation.
In your lab manual or on a piece of paper, draw the vegetation in each of the quadrants. Give dimensions of the vegetation or flower and describe its characteristics next to the picture. This will be your resource in addition to your pictures to make a positive identification. NOTE: Identification may be made in the field or in the classroom.
-
Returning materials for identification.
Collect all materials, quadrangle, information, and data to be returned to school for identification. Use the field guides to identify the rocks and minerals, vegetation, wildlife, and soil type within your quadrangle.
-
Engaging questions.
Be sure to answer the Engaging Questions found in the "Teacher's Guide" for this lesson.
Teacher Notes
-
Students should read the entire activity before the day of the trip. The construction of the quadrangle may be done on site depending on the age of the students.
-
Print copies of " What's in Your Square?" checklist the day before the field trip.
Learner Notes
-
Special care should be given not to disturb the area. Please remove items only if the instructor has given you permission to do so.
Mentor Notes
-
Support your daughter or son in this activity by having her or him review the findings from the field trip.