T1. Create a Class Group
Instructional Notes
No Plan Available
Instructions
No Instructions Available
Steps
-
Sort by Identifier
Order students by some identifier (Last Name, OPI Score, SOPI...) sort in Ascending or Descending Order.

-
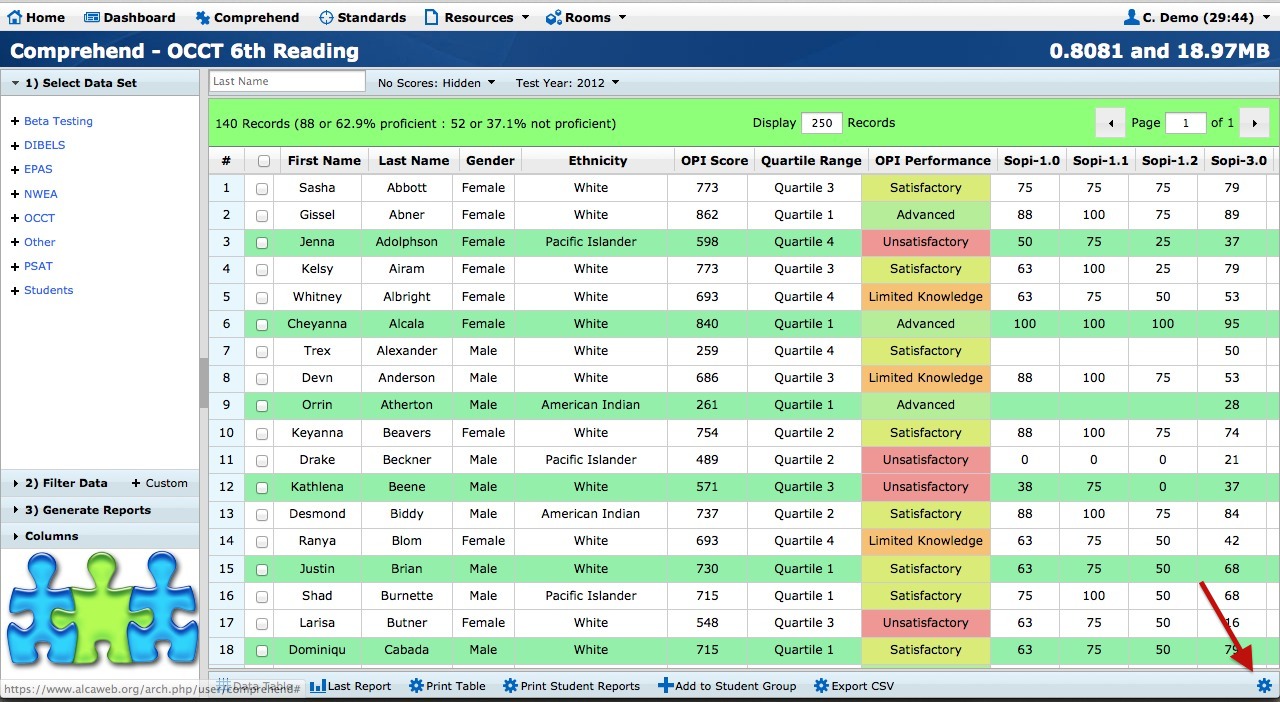
Identifying Students
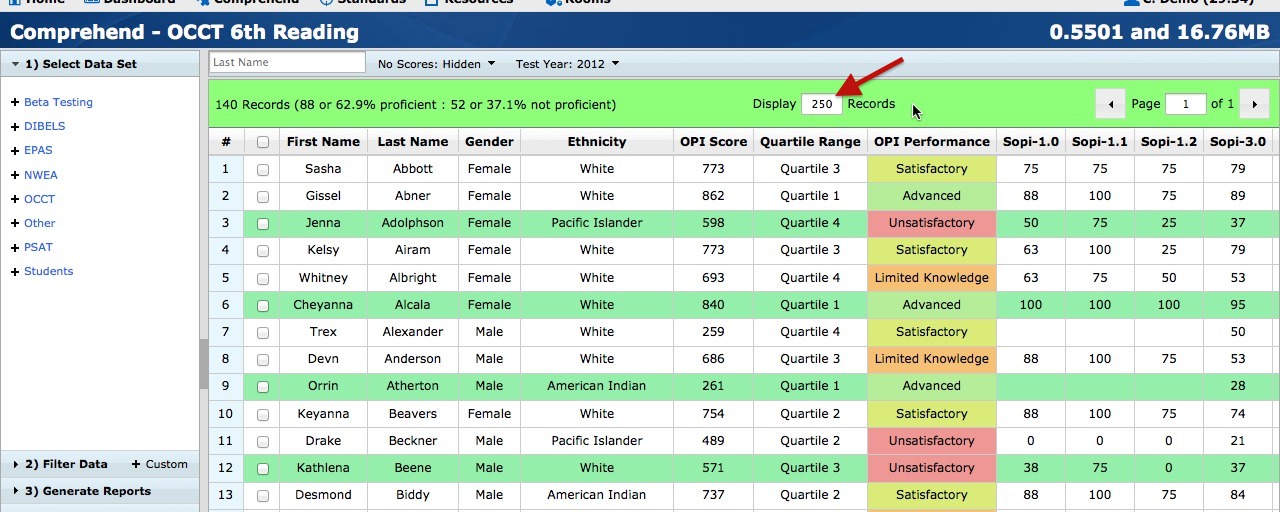
Sort the student records by some identifier (Last Name, OPI Score, SOPI...) in Ascending or Descending Order. Change Display Record count to maximum of 250 or the number of records in group.
-
Select Students
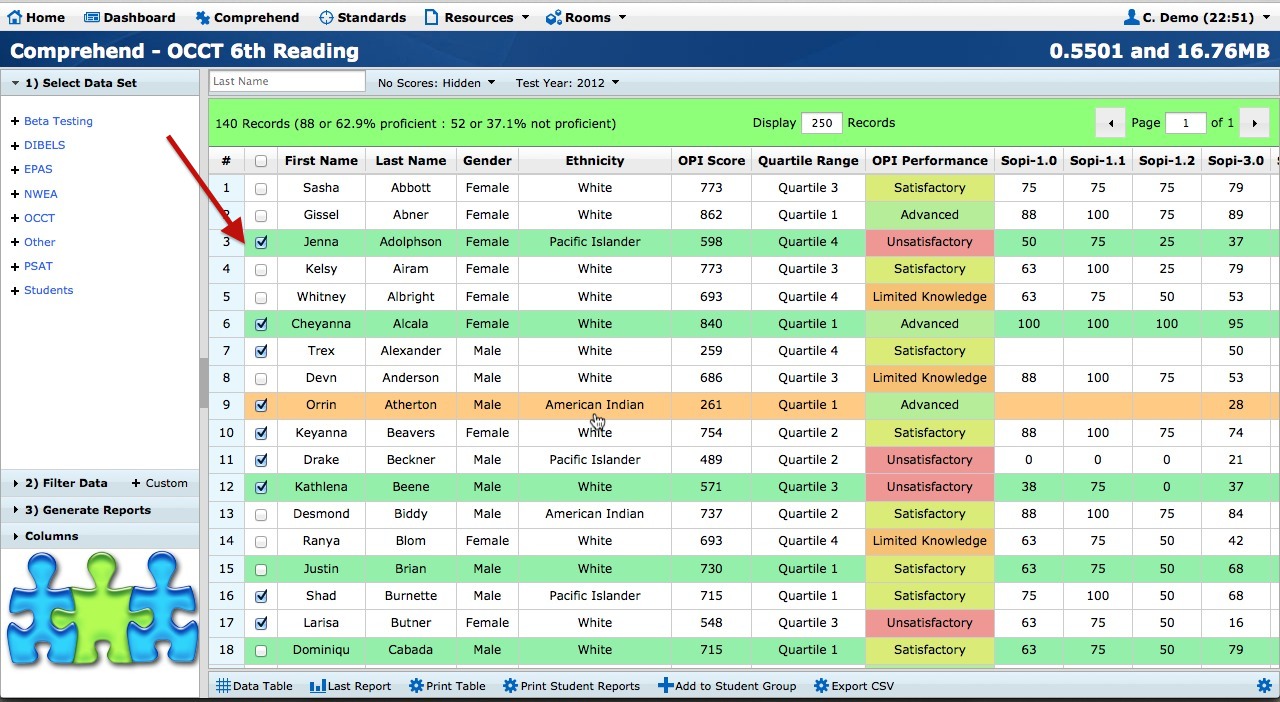
Select the students that you have in your class by putting a check in the box in the column left of their name.
-
Add Student Group
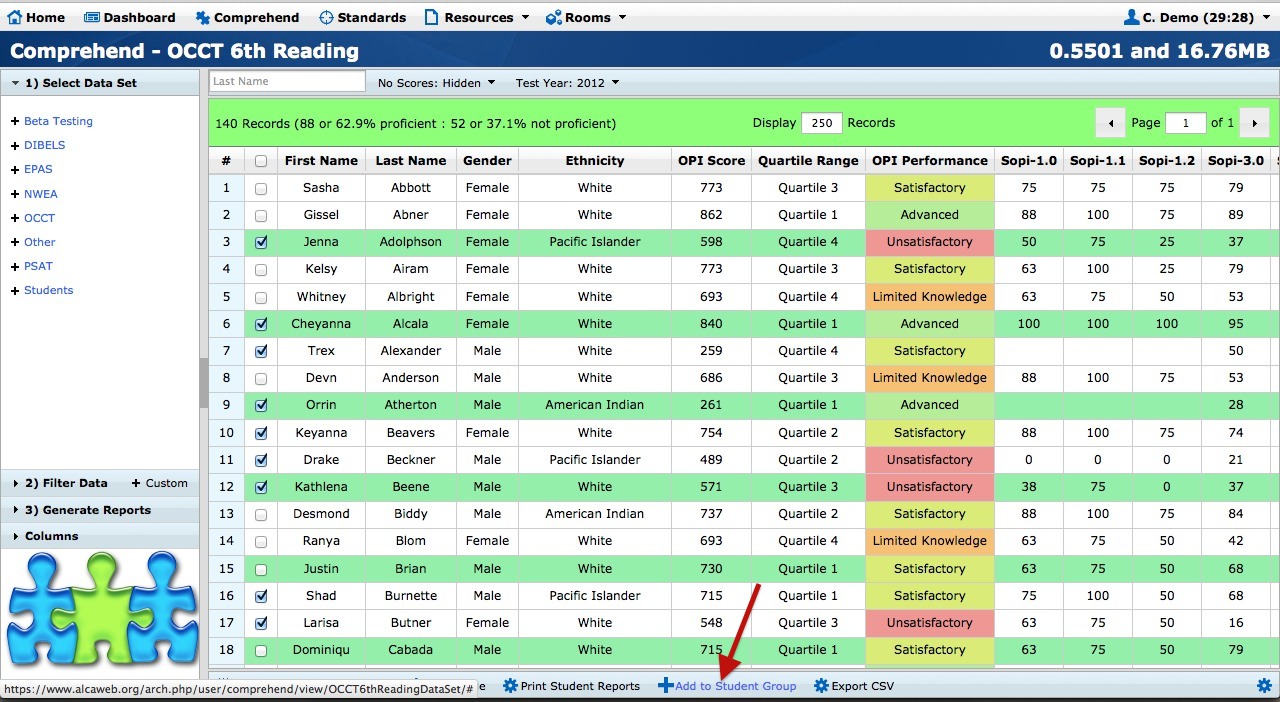
Go to the bottom of the page and click the plus key (+) to Add to Student Group.
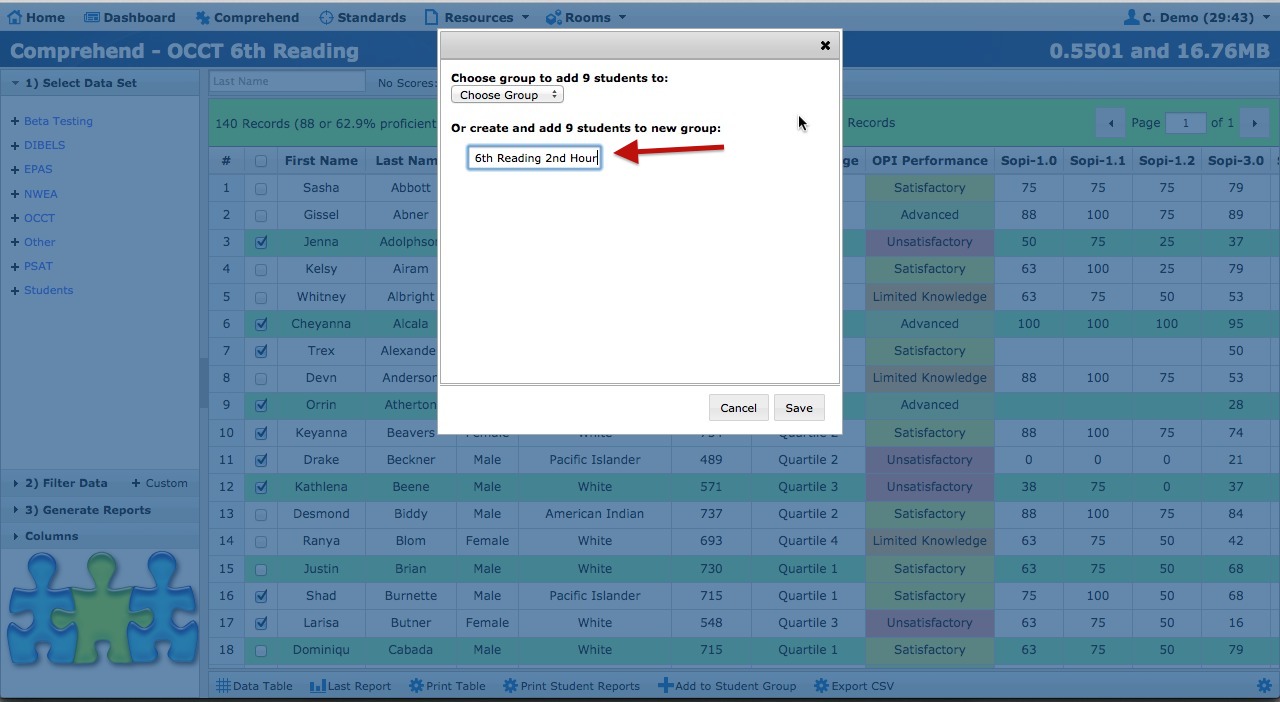
When the box pops up type in a name for the group identified. Always name using year of data and OCCT Group and type of group. Example: 2012 6th Reading 2nd Hour
-
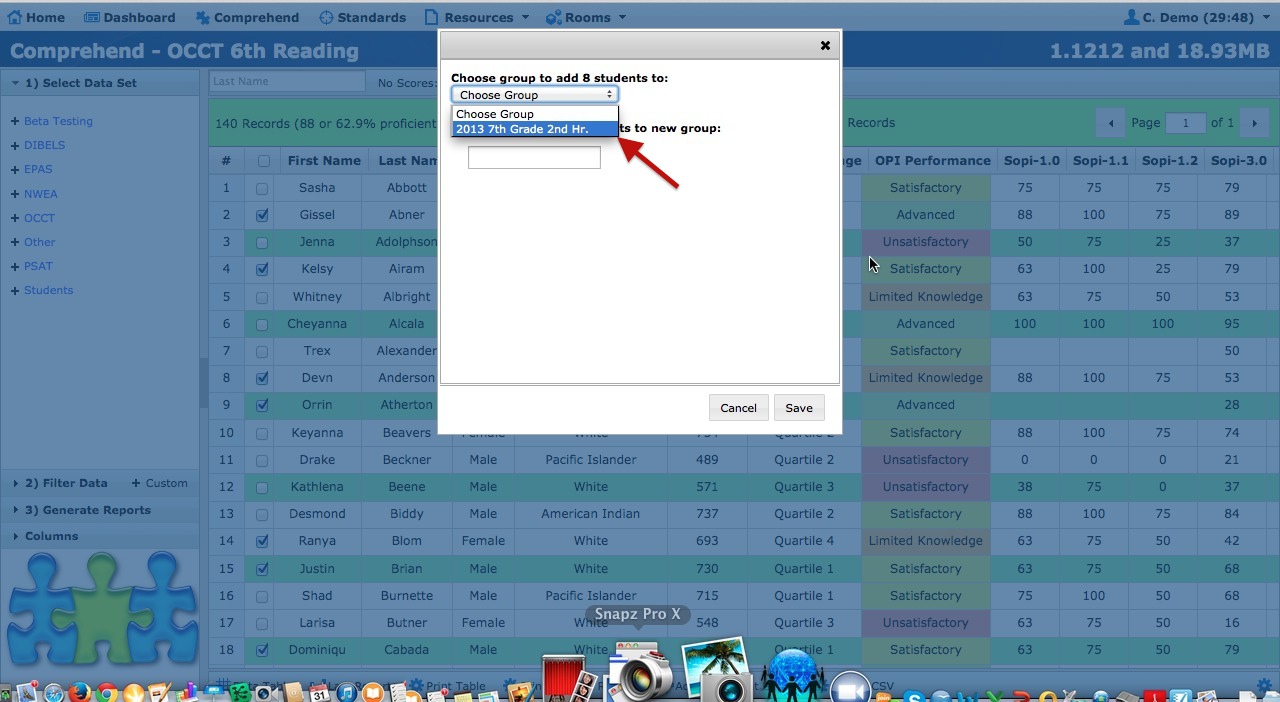
Adding Students to Existing Group
Select students from group by checking box in row next to their name. Click the plus (+) Add to Student Group at the bottom of the page. Click "Select Group" to add these students to a specific group from the drop down list of the box that appears on page.
-
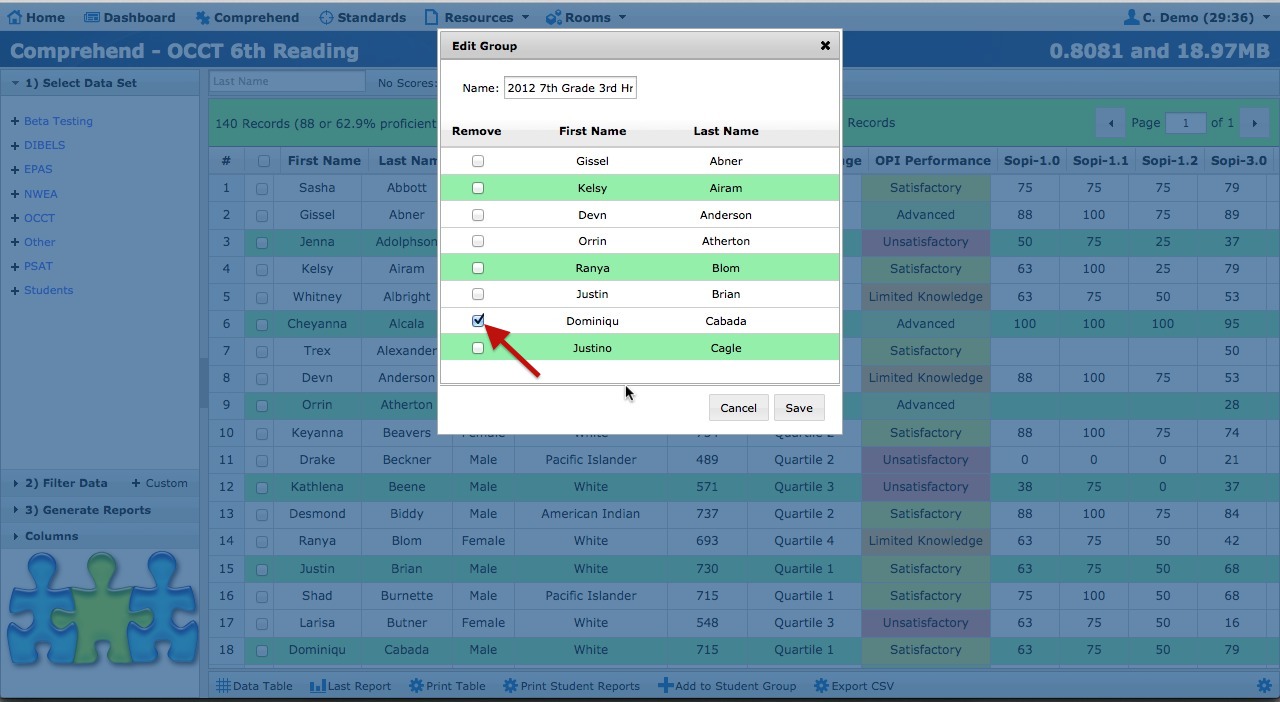
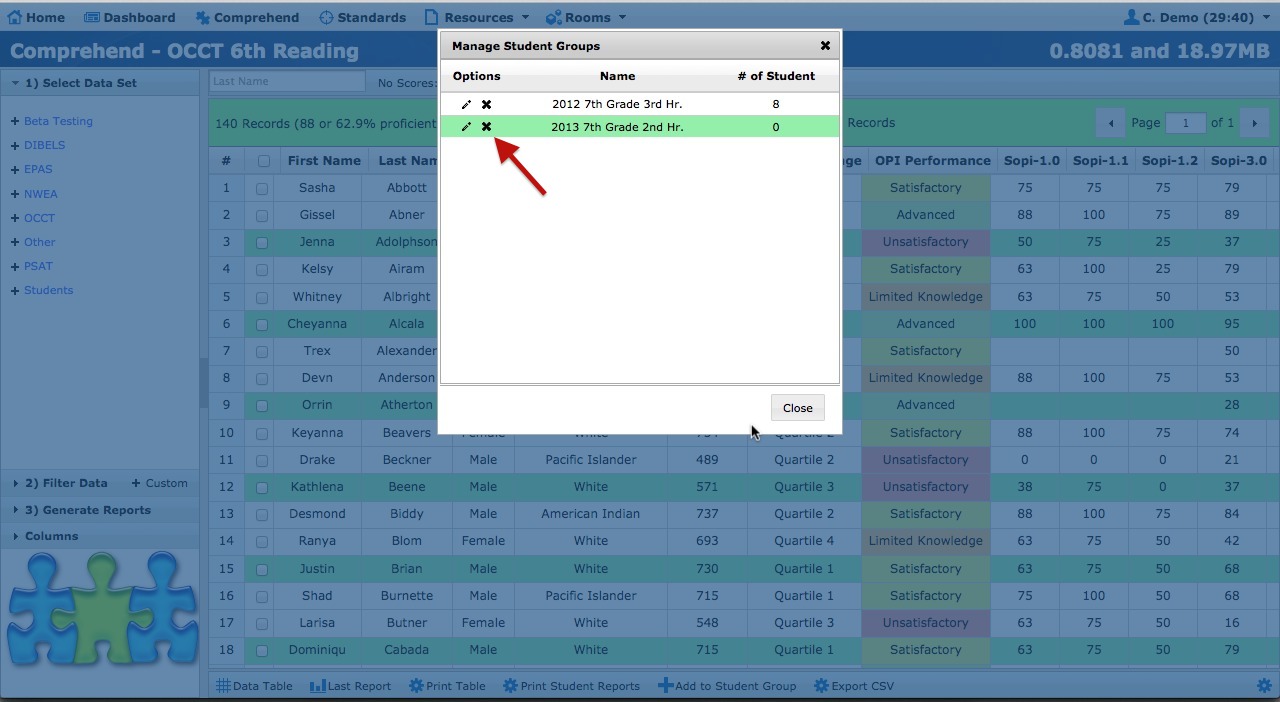
Manage Student Groups
Click on the Gear (Cog) at the bottom right hand corner of the page "Manage Student Groups".
Click on the Pencil to Edit the Group. You can only change the Name of the Student Group or Select Students to be removed.
To Delete a group completely click on the Trash Can next to Student Group Name.
-
Create Bottom 25% Group